How to Take Screenshot in Dragon Age: The Veilguard?

Dragon Age: The Veilguard is a visually stunning addition to the popular Dragon Age franchise, and many players are eager to capture screenshots of the breathtaking landscapes, intense battles, and memorable character interactions.
This guide will walk you through various methods for taking screenshots in The Veilguard, including in-game settings, keyboard shortcuts, third-party tools, and tips for enhancing your screenshots.
Introduction to Screenshotting in Dragon Age: The Veilguard
Screenshots are a fantastic way to document and share your experience in Dragon Age: The Veilguard. Whether you want to capture epic battles, beautiful scenery, or memorable dialogues, knowing the right techniques can make a huge difference. Let’s explore the different methods you can use to take screenshots effectively.
Using In-Game Screenshot Features
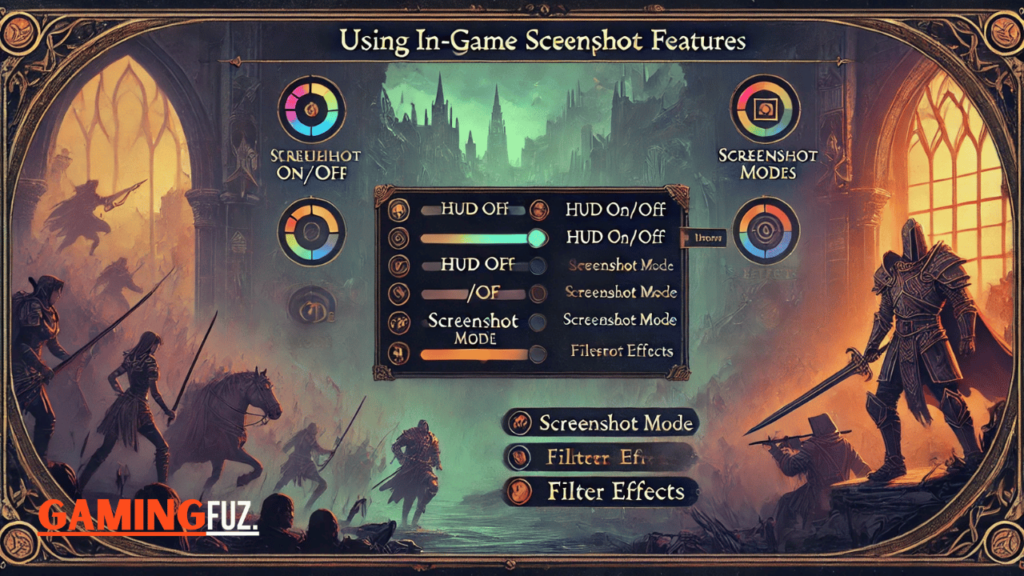
Dragon Age: The Veilguard includes an in-game screenshot feature designed to make capturing moments easier.

Steps to Use In-Game Screenshot Tool
- Access the Screenshot Tool: Open the game menu and locate the “Screenshot” option under “Settings” or “Display.”
- Adjust Settings: Some games allow you to toggle settings like HUD display and visual filters.
- Activate Screenshot Mode: After enabling, use the in-game controls to take screenshots directly.
- Review and Save: You can find and review your saved screenshots in the game’s screenshot gallery.
| Option | Description | How to Access |
|---|---|---|
| HUD On/Off | Enables or disables HUD for clarity | Settings > Display |
| Filter Effects | Adds visual filters for customization | Screenshot Mode |
| Image Resolution | Set screenshot quality (low to high) | Settings > Graphics |
| Screenshot Folder | Location to save screenshots | Settings > File Path |
Keyboard Shortcuts for Screenshots
Default Keyboard Shortcuts
Most platforms come with default screenshot options. Here’s a quick guide based on your gaming setup.
| Platform | Shortcut for Screenshot | Description |
|---|---|---|
| Windows | PrtScn | Captures full screen |
Alt + PrtScn | Captures the active window only | |
Win + Shift + S | Opens Snipping Tool to capture custom area | |
| Mac | Command + Shift + 3 | Captures entire screen |
Command + Shift + 4 | Capture a selected portion of the screen | |
| Steam | F12 (Default, customizable) | Saves screenshots to the Steam library |
| Xbox Game Bar | Win + G | Opens Xbox Game Bar for screenshots |
Note: Make sure that the screenshot shortcuts are active. If they don’t work, check your settings in Windows, Mac, or Steam.
Using Third-Party Screenshot Tools
Third-party tools are popular among gamers due to their flexibility and additional features. Here are some commonly used tools that offer high-quality screenshots.
Recommended Tools
| Tool | Features | Download Link |
|---|---|---|
| NVIDIA Ansel | Advanced filters, 4K resolution | [NVIDIA Website] |
| Fraps | FPS display, custom shortcuts | [Fraps Official] |
| Greenshot | Free, customizable regions, simple UI | [Greenshot Official] |
| ShareX | GIF capture, screen recording | [ShareX Download] |
| OBS Studio | Streaming and recording, custom captures | [OBS Studio] |
Steps to Use NVIDIA Ansel
- Install and Launch: Install NVIDIA Ansel from the NVIDIA GeForce Experience software.
- Activate Ansel: Press
Alt + F2while in the game to open Ansel. - Adjust Settings: Ansel allows you to add filters, increase the resolution, and select various capture modes.
- Take Screenshot: Click “Capture” to save your screenshot. Screenshots are saved in the default NVIDIA Ansel folder.

Capturing High-Quality Screenshots
To enhance the quality of your screenshots, consider adjusting the following settings:
In-Game Graphics Settings
- Resolution: Increase resolution to the maximum supported by your monitor (e.g., 4K or 1080p).
- Anti-Aliasing: Enabling anti-aliasing smoothens edges and reduces pixelation.
- Texture Quality: High texture quality makes details sharper.
- Brightness and Contrast: Adjust these settings for clarity, especially in darker scenes.
| Setting | Recommended Value | Purpose |
|---|---|---|
| Resolution | 4K or 1080p | Higher resolution for better quality |
| Anti-Aliasing | Enabled | Smooth edges for clearer images |
| Texture Quality | High | Detailed textures for a sharper look |
| Shadows | Medium to High | Adds depth but may affect performance |
| Brightness | 50-60% | Adjust according to lighting in the game |
Screenshot Modes and Filters
Many modern games offer special modes like “Photo Mode” with filters to enhance your screenshots. In Dragon Age: The Veilguard, this might be labeled as “Photography Mode.”
Steps to Use Photo Mode and Filters
- Access Photo Mode: Go to
Settings>Display>Photography Mode. - Apply Filters: Select filters like sepia, black and white, or HDR for added effects.
- Customize Camera Angles: You can zoom in/out or rotate the camera for the perfect shot.
- Capture: Use the designated button to save your shot with the filter applied.
Popular Filters
| Filter | Effect | Best Use For |
|---|---|---|
| Sepia | Adds vintage, warm tones | Nostalgic or historical settings |
| Black and White | Removes color, enhances contrast | Dramatic scenes or character portraits |
| HDR | Improves contrast and color range | Vibrant landscapes |
| Cinematic | Adds cinematic bars, high contrast | Storytelling and cutscenes |
Troubleshooting Common Screenshot Issues
Screenshot Not Saving
If you experience issues with screenshots not saving, consider these troubleshooting tips:
- Check Disk Space: Ensure your storage has enough space to save images.
- Verify Save Location: Double-check the file path where screenshots are saved in the settings.
- Disable Overlay Conflicts: Sometimes overlays from multiple applications (e.g., Steam, NVIDIA) can conflict.
| Issue | Possible Cause | Solution |
|---|---|---|
| Screenshots not saving | Low disk space | Free up space or change save location |
| Overlays conflicting | Multiple game overlays active | Disable extra overlays |
| Low-quality screenshots | Low-resolution settings | Increase resolution in graphics settings |
| Hotkey not working | Default keys overwritten | Check and update keyboard shortcuts |
Conclusion
Capturing screenshots in Dragon Age: The Veilguard is a great way to immortalize your favorite moments. By following these tips and methods, you can take high-quality screenshots and share them with others. Whether you prefer in-game tools, keyboard shortcuts, or third-party software, each method offers unique advantages.
From applying custom filters to using high-resolution settings, each option ensures that your screenshots reflect the visual beauty of The Veilguard. So, go ahead and capture those magical moments in Dragon Age: The Veilguard!
FAQs on Taking Screenshots in Dragon Age: The Veilguard
How do I take a screenshot in Dragon Age: The Veilguard using in-game options?
You can capture screenshots by navigating to the game’s settings and enabling ‘Screenshot Mode,’ which removes the HUD (heads-up display) and overlays. Use the designated in-game button or hotkey to capture the image. This option can vary based on platform, so refer to the control settings for specific instructions.
Is there a specific key or shortcut for taking screenshots in Dragon Age: The Veilguard?
Yes, on most platforms, you can assign a specific key in the settings for taking screenshots. By default, this may be bound to a function key or a custom hotkey you set. Refer to the game’s control settings to see or adjust the assigned key.
Can I take high-resolution screenshots in the game?
Many in-game settings allow you to capture high-quality screenshots by adjusting the graphics quality and resolution settings. Ensure your display settings are set to the maximum resolution for the best results, especially if your device supports it.
How do I take screenshots without any UI elements or HUD?
In Dragon Age: The Veilguard, you can disable the HUD in the settings under ‘Display’ or ‘Interface’ options. With HUD disabled, your screenshots will be clear of any overlay elements, providing an immersive and cinematic image.
What external tools can I use for screenshots if in-game options are limited?
External tools like Nvidia GeForce Experience, Steam’s built-in screenshot feature (F12 by default), or Windows Snipping Tool (Windows + Shift + S) are great options. These tools work independently of the game’s settings and offer additional features, like editing and sharing.
How can I improve the quality of my screenshots?
Enhance screenshot quality by maximizing game resolution, using a high refresh rate, and enabling advanced graphical effects in settings like anti-aliasing and ambient occlusion. Post-processing tools, like Adobe Photoshop or free editors like GIMP, can also help refine your screenshots further.
Where are screenshots saved in Dragon Age: The Veilguard?
The default save location depends on the platform. For PC, in-game screenshots usually save to a designated folder within the game directory or in the ‘Pictures’ folder. On Steam, screenshots are saved in the Steam client’s screenshot manager.
Can I edit my screenshots after capturing them?
Absolutely! Editing screenshots using programs like Photoshop, GIMP, or even simple tools like Paint can enhance lighting, contrast, and colors. Editing can also help add unique effects or remove unwanted elements from the image.
Why are my screenshots blurry or low-quality?
Blurry or low-quality screenshots may result from low in-game resolution settings or compression. To fix this, adjust the resolution in the game’s graphics settings and ensure your screen resolution is optimal for capturing detailed images.
Can I take screenshots during cutscenes?
Yes, you can, but certain cutscenes may have fixed camera angles or limited HUD options. You can use an external tool or console features to capture these moments effectively.


